Here is the step-by-step guide to writing a book using the Sudowrite AI tool.
Step 1: First, visit the SudoWrite website, and sign up to create a new account. If you already have an account, log in to it.
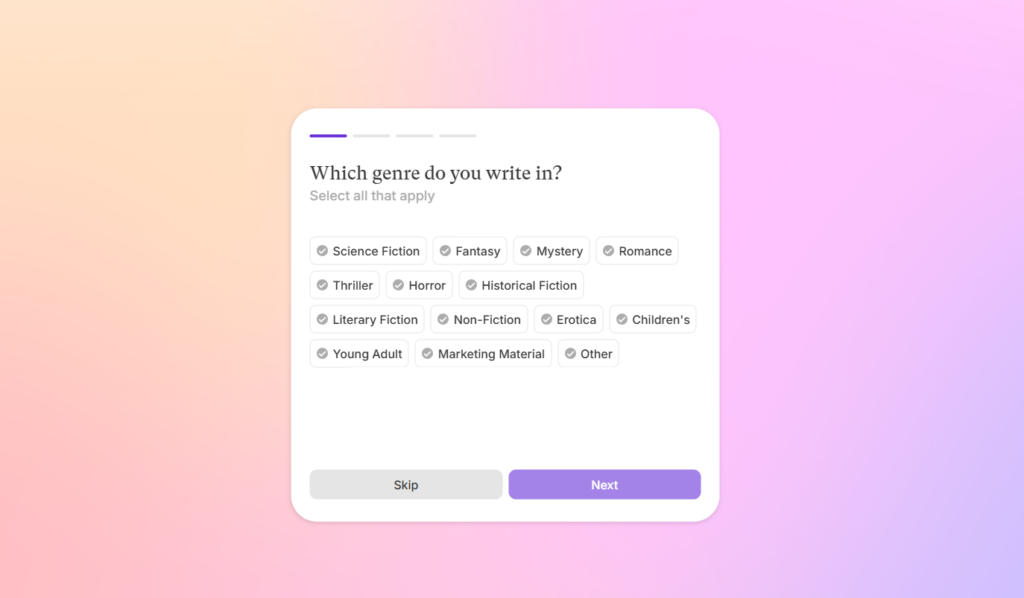
Step 2: While signing up, you will be asked a few questions to know your preference, so answer all questions properly.
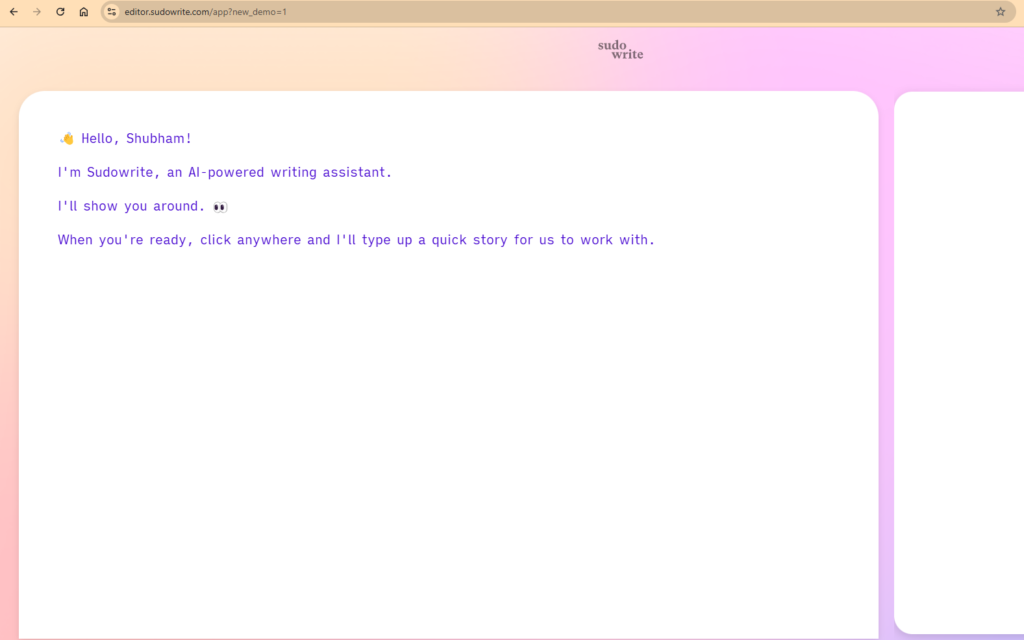
Step 3: Next, you will be redirected to the editor page. Here, you will start with the tour to learn how to use the tool. Follow the step-by-step guide given on your screen to perform various tasks.
Step 4: Once you complete the tour of the tool, you will see the below interface. Click on the “New” button in the top left corner and click on the “Project” button to start a new project.
Step 5: Let’s explore the interface. Give a good project name to your new project in the top left corner. Here, we have given the “Hacks for Marketing” name to the project.
Step 6: Now, add content to the editor. Initially, you need to add some raw content about the topic or chapter of the book. After that, you can use the “write”, “rewrite”, etc. buttons from the top bar to enhance your content.
Here, we have added raw content about the introduction to marketing.
Step 7: Now, mouse cursor at the end of the text from where you want to continue to write. Here, we have put the cursor after the first paragraph. After that, click on the write button to continue writing content.
Boom, you will see 2 or more suggestions on the right sidebar.
Step 8: Next, choose the best response from the 2 outputs, and click on the insert button to add a particular response. After that, you start editing the text.
Step 9: To edit texts quickly, when you can select the text, you will see a popup bar with different options like “rewrite”, “Describe”, “Expand”, and “Quick Edit”. Choose the “Quick Edit” from that.
In the popup menu, add the instructions for quick editing as shown below.
Step 10: It will give output as shown below, and ask you to “Reject” or “Accept” the text. Once you will accept the text, it will replace the older text with a new text.
Step 11: In this step, we have selected the text and clicked on the “Describe” button to describe text content. You can see the 2 different responses on the right sidebar, which you can insert into the content by just clicking on the “Insert” button.
Step 12: In this step, we will rewrite the text to make it better. Here, we have selected the text and clicked on the “Rewrite” button on the top bar.
After that, you can see re-written texts in the sidebar and use the “insert” button to replace the text. Here are our rewritten text.
Step 13: In this step, we will learn to use plugins. First, select a text on which you want to perform some operation. After that, click on the “Plugin” button, which is on the top bar and select any plugin. Here, we have selected the “Visualize” plugin.
In the output, it will add visualisation like below.
Step 14: Explore other features like creating a folder, and documents inside the folder, importing, exporting the content, etc. These features will help you to create a book in an efficient way.
Is SudoWrite worth it?
Yes! Sudowrite is widely regarded as a valuable AI tool for writers, particularly those engaged in creative fiction. It leverages advanced AI technology to assist with various aspects of the writing process, including idea generation, character development, and scene expansion.
Is SudoWrite Free to Use?
Sudowrite offers a free trial, and after that, the service is available for $10/month. You can cancel anytime, and no credit card is needed to start the free trial.